
Introducción
Si alguna vez compraste una pantalla de teléfono de repuesto, Conoces la sensación: no estás seguro de si la pantalla que tienes en la mano es buena o si te causará interminables dolores de cabeza después de la instalación.. El mercado está inundado de copias., pantallas restauradas, y rechazos de fábrica. Por eso tener un rápido, Una forma confiable de verificar la calidad de la pantalla en el sitio cambia las reglas del juego..
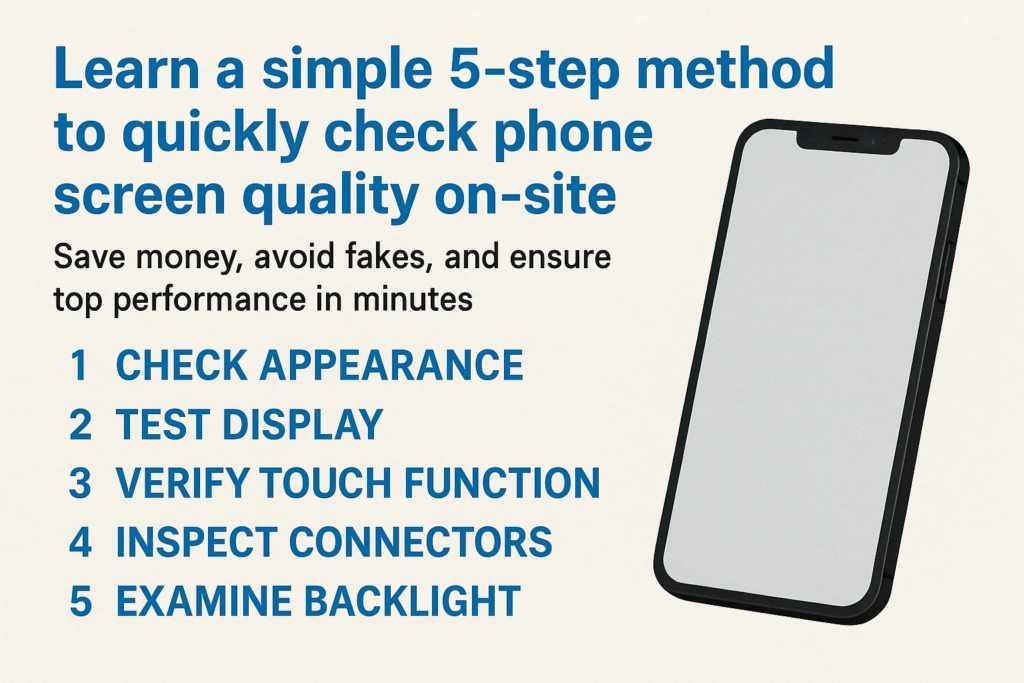
Esta guía le brinda una 5-paso, método fácil de recordar que funciona en cualquier lugar, ya sea en un mercado mayorista, en un taller de reparaciones, o comprar a un proveedor. Sigue estos pasos, y sabrás instantáneamente si vale la pena conservar o rechazar la pantalla..
Paso 1 – Verifique la apariencia
Antes incluso de encender la pantalla, tus ojos pueden decirte mucho.
- Arañazos o grietas: Incluso los pequeños arañazos en la superficie pueden significar una mala manipulación o piezas de segunda mano..
- Restos de pegamento: Mire alrededor de los bordes; si ve restos de pegamento, podría ser una pantalla reciclada.
- Inspección del marco: Revise las esquinas y los bordes en busca de abolladuras, papas fritas, o signos de volver a pegar.
Piensa en este paso como la primera impresión.. Si afuera se ve mal, lo más probable es que sea peor por dentro.
Paso 2 – Pruebe la función táctil
Una pantalla puede parecer nueva, pero si el tacto no es suave, es inútil.
- Instale la pantalla en un dispositivo de prueba.
- Abrir una aplicación de dibujo o pintura.
- Desliza tu dedo por toda la pantalla, borde a borde.
lo que estas buscando:
- Zonas muertas: Áreas donde el tacto no responde.
- Saltar pantalla: Saltos aleatorios al dibujar una línea recta.
- toque fantasma: La pantalla “se toca sola” sin intervención.
Una pantalla de alta calidad debería seguir perfectamente cada movimiento de los dedos, incluso con gestos multitáctiles.
Paso 3 – Verificar el rendimiento de la pantalla
Ahora es el momento de juzgar el corazón de la pantalla: la pantalla..
- Pantalla blanca fija: Revela manchas de suciedad, amarillamiento, o brillo desigual.
- Pantalla negra sólida: Ayuda a detectar fugas de luz o píxeles muertos.
- Rojo, verde, y pantallas azules: Exponer la distorsión del color, áreas oscuras, o puntos extraños.
Si ves manchas de luz extrañas (llamado “nubosidad”) o inconsistencias de color, Es probable que la pantalla sea un rechazo.. Recordar, la pantalla es lo que su cliente mirará a diario; no haga concesiones aquí.
Paso 4 – Inspeccionar el cable flexible
El cable flexible es como la huella digital de la pantalla: revela si la pieza es genuina o falsa.
- Comparar con original: Forma, longitud, y la soldadura debe coincidir.
- Recuento de componentes: Los cables originales suelen tener más chips y resistencias..
- Claridad del código QR y de la etiqueta: Las etiquetas borrosas o faltantes son una señal de alerta.
Si el cable flexible se ve mal hecho, Es probable que la pantalla falle más temprano que tarde..
Paso 5 – Verifique los componentes de soporte
Un buen montaje de pantalla no se limita al cristal y la pantalla.
- Malla del auricular: debe estar limpio, alineado, y correctamente adherido.
- Botón de inicio o sensor de huellas dactilares (si está presente): Funcionalidad de prueba y prensa suave.
- Elementos del marco frontal: El sensor de proximidad y las ranuras para la cámara deben estar limpios, no torcido o bloqueado.
Estas pequeñas piezas marcan una gran diferencia en el uso diario del teléfono. No te los saltes.
Errores comunes durante las pruebas in situ
- Acelerar el proceso: Saltarse pasos a menudo conduce a malas compras.
- No guardar imágenes de prueba: Mantén siempre el blanco, negro, e imágenes RGB en su dispositivo de prueba.
- Ignorando los detalles del cable flexible: Muchas pantallas falsas sólo fallan en este paso; no lo pases por alto.
Por qué funciona este método de 5 pasos
Esta lista de verificación está diseñada para ser práctica.. Cubre ambos apariencia visual y rendimiento funcional, al mismo tiempo que verifica pistas de autenticidad como el cable flexible.
la mejor parte? solo se necesita 2–3 minutos por pantalla una vez que lo domines.
Consejos prácticos para compradores y talleres de reparación
- Lleve un teléfono de prueba con aplicaciones esenciales preinstaladas.
- Guarde las imágenes de prueba en su galería o en la nube.
- Mantenga una lista de verificación impresa en su kit de herramientas: acelera las inspecciones.
Haciendo de esta rutina un hábito, Evitará errores costosos y se ganará la reputación de vender únicamente piezas de alta calidad..
Conclusión
Detectar una pantalla de teléfono defectuosa no tiene por qué ser un juego de adivinanzas. con esto 5-método paso a paso—apariencia, tocar, mostrar, cable flexible, y piezas de soporte: tendrá un proceso infalible para identificar la calidad de la pantalla de forma rápida y segura.
Si eres técnico, mayorista, o comprador, Dominar este sencillo flujo de trabajo le permitirá ahorrar dinero., tiempo, y frustración.
Preguntas frecuentes
1. ¿Cuánto dura la prueba de los 5 pasos??
Por lo general, entre 2 y 5 minutos por pantalla, dependiendo de tu experiencia.
2. ¿Puedo utilizar este método sin herramientas especiales??
Sí, todo lo que necesita es un dispositivo de prueba e imágenes de prueba básicas.
3. ¿Qué pasa si una pantalla supera algunos pasos pero falla otros??
Es mejor rechazarlo: cada paso es importante para la confiabilidad a largo plazo.
4. ¿Este método es adecuado tanto para pantallas LCD como OLED??
Absolutamente, Los pasos se aplican a ambos tipos..
5. ¿Cómo confirmo si la pantalla es original o copia??
Los detalles del cable flexible y la calidad general de construcción son los mayores indicios..


