
Pasiuna
Kung nakapalit ka usa ka kapuli nga screen sa telepono, nahibal-an nimo ang pagbati-dili ka sigurado kung ang screen sa imong kamot maayo o kung kini hinungdan sa walay katapusan nga labad sa ulo pagkahuman sa pag-instalar. Ang merkado gibahaan sa mga kopya, giayo nga mga screen, ug pabrika nagsalikway. Mao nga magdali, kasaligan nga paagi sa pagsusi sa kalidad sa screen on-site mao ang usa ka game changer.
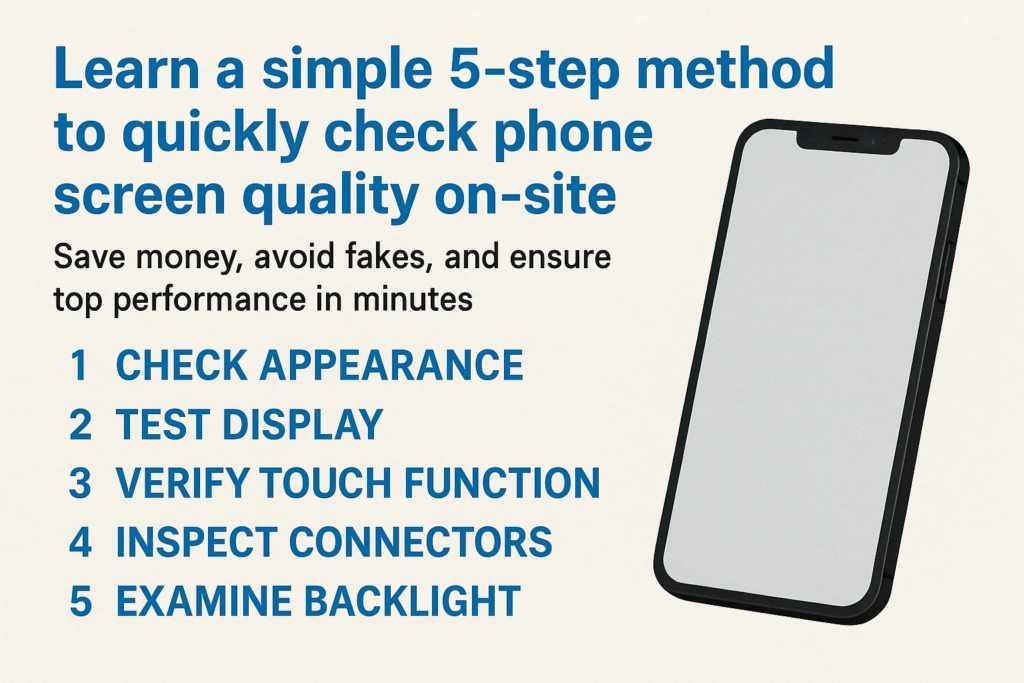
Kini nga giya naghatag kanimo og usa ka 5-lakang, sayon-sa-paghinumdom nga paagi nga nagtrabaho bisan asa-bisan ikaw sa usa ka wholesale nga merkado, sa usa ka repair shop, o pagpalit gikan sa usa ka supplier. Sunda kini nga mga lakang, ug mahibal-an dayon nimo kung ang screen angay nga itago o isalikway.
Molakang 1 - Susihon ang hitsura
Sa wala pa gani i-on ang screen, ang imong mga mata makasulti kanimo og daghan.
- Mga garas o liki: Bisan ang gagmay nga mga garas sa nawong mahimong magpasabot nga dili maayo nga pagdumala o mga bahin sa segunda-mano.
- Nabilin nga glue: Tan-awa ang palibot sa mga ngilit—kon makita nimo ang nahabilin nga papilit, kini mahimo nga usa ka recycled screen.
- Pag-inspeksyon sa frame: Susiha ang mga eskina ug mga utlanan alang sa mga dents, mga chips, o mga timailhan sa pag-gluing pag-usab.
Hunahunaa kini nga lakang isip unang impresyon. Kung tan-awon dili maayo sa gawas, lagmit mas grabe pa sa sulod.
Molakang 2 - pagsulay sa paghikap sa paghikap
Ang usa ka screen mahimong tan-awon nga bag-o, pero kung dili hamis ang paghikap, kini walay kapuslanan.
- I-install ang screen sa usa ka aparato sa pagsulay.
- Ablihi ang drawing o paint app.
- I-slide ang imong tudlo sa tibuok screen, ngilit sa ngilit.
Unsa ang imong gipangita:
- Patay nga mga sona: Mga dapit diin ang paghikap dili motubag.
- Ambak sa screen: Random nga paglaktaw kon magdrowing og tul-id nga linya.
- Ghost touch: Ang screen "mihikap sa iyang kaugalingon" nga walay input.
Ang usa ka taas nga kalidad nga screen kinahanglan nga hingpit nga masubay ang matag paglihok sa tudlo, bisan sa multi-touch nga mga lihok.
Molakang 3 - I-verify ang Performance sa Display
Karon na ang panahon sa paghukom sa kasingkasing sa screen-ang display.
- Solid nga puti nga screen: Nagpadayag sa mga spots sa hugaw, pag-yellowing, o dili parehas nga kahayag.
- Solid itom nga screen: Nagtabang sa pag-spot sa mga light leaks o dead pixels.
- Pula, berde, ug asul nga mga screen: Ibutyag ang pagtuis sa kolor, ngitngit nga mga dapit, o katingad-an nga mga lugar.
Kung makakita ka ug katingad-an nga mga patch sa kahayag (gitawag nga "clouding") o dili pagkaparehas sa kolor, ang screen lagmit usa ka pagsalikway. Hinumdomi, ang display mao ang tan-awon sa imong kustomer matag adlaw-ayaw pagkompromiso dinhi.
Molakang 4 - Susihon ang Flex Cable
Ang flex cable sama sa fingerprint sa screen-kini nagpadayag kung ang bahin tinuod o peke.
- Itandi sa orihinal: Porma, gitas-on, ug ang pagsolda kinahanglan nga magkatugma.
- Ihap sa mga sangkap: Ang orihinal nga mga kable kanunay adunay daghang mga chips ug resistors.
- QR code ug katin-aw sa label: Ang blurry o nawala nga mga label usa ka pula nga bandila.
Kung ang flex cable tan-awon dili maayo nga gihimo, ang screen lagmit mapakyas sa dili madugay kaysa ulahi.
Molakang 5 - Susihon ang Nagsuporta nga mga sangkap
Ang maayo nga screen assembly dili mohunong sa bildo ug display.
- Earpiece mesh: Dapat limpyo, nahiangay, ug husto nga gilakip.
- Button sa balay o sensor sa fingerprint (kon anaa): Pagsulay sa pagpaandar ug hapsay nga press.
- Mga elemento sa atubangan nga frame: Ang proximity sensor ug mga slot sa camera kinahanglan nga hapsay, dili hiwi o gibabagan.
Kini nga gagmay nga mga bahin naghimo og dako nga kalainan sa adlaw-adlaw nga paggamit sa telepono. Ayaw sila laktawan.
Kasagarang mga Sayop Panahon sa On-Site Testing
- Pagdali sa proseso: Ang paglaktaw sa mga lakang sagad mosangpot sa dili maayong mga pagpalit.
- Dili pagtipig sa mga hulagway sa pagsulay: Kanunay nga puti, itum, ug RGB nga mga hulagway sa imong test device.
- Pagbaliwala sa mga detalye sa flex cable: Daghang mga peke nga mga screen ang napakyas lamang sa kini nga lakang-ayaw kini kalimti.
Ngano nga ang kini nga 5-lakang nga pamaagi molihok
Kini nga checklist gidisenyo alang sa pagkapraktikal. Kini naglangkob sa duha biswal nga panagway ug functional performance, samtang nagsusi usab sa mga timailhan sa pagkatinuod sama sa flex cable.
Ang labing maayo nga bahin? Nagkinahanglan lamang kini 2-3 minuto matag screen sa higayon nga makasabot ka niini.
Praktikal nga mga Tip para sa mga Mamalitay ug mga Repair Shop
- Pagdala usa ka pagsulay nga telepono nga adunay hinungdanon nga mga app nga na-pre-install.
- I-save ang mga hulagway sa pagsulay sa imong gallery o cloud drive.
- Pagtipig ug giimprinta nga checklist sa imong toolkit—kini makapadali sa mga inspeksyon.
Pinaagi sa paghimo niini nga rutina nga usa ka batasan, malikayan nimo ang mahal nga mga sayup ug magtukod usa ka reputasyon sa pagbaligya lamang sa mga de-kalidad nga piyesa.
Kataposan
Ang pagtan-aw sa usa ka dili maayo nga screen sa telepono dili kinahanglan nga usa ka pagtag-an nga dula. Uban niini 5-lakang nga pamaagi-pagpakita, hikapon, pasundayag, flex cable, ug pagsuporta sa mga bahin—adunay ka walay kapuslanan nga proseso aron mailhan ang kalidad sa screen nga dali ug masaligon.
Kung ikaw usa ka technician, wholesaler, o pumapalit, Ang pag-master niining yano nga workflow makadaginot kanimo og kwarta, oras, ug kahigawad.
FAQS
1. Unsa ka dugay ang 5-step nga pagsulay?
Kasagaran mga 2-5 ka minuto matag screen, depende sa imong experience.
2. Mahimo ba nako gamiton kini nga pamaagi nga wala’y espesyal nga mga himan?
Oo, ang imong gikinahanglan mao ang usa ka test device ug batakang pagsulay nga mga hulagway.
3. Unsa kaha kung ang usa ka screen moagi sa pipila ka mga lakang apan mapakyas ang uban?
Labing maayo nga isalikway kini-ang matag lakang hinungdanon alang sa dugay nga kasaligan.
4. Angayan ba kini nga pamaagi para sa LCD ug OLED nga mga screen?
Sa hingpit, ang mga lakang magamit sa duha ka matang.
5. Unsaon nako pagkumpirma kung orihinal o kopya ang screen?
Ang mga detalye sa flex cable ug kinatibuk-ang kalidad sa pagtukod mao ang pinakadako nga giveaways.


