
Εισαγωγή
Εάν έχετε αγοράσει ποτέ μια οθόνη τηλεφώνου αντικατάστασης, ξέρετε το συναίσθημα—δεν είστε σίγουροι αν η οθόνη στο χέρι σας είναι καλή ή αν θα προκαλέσει ατελείωτους πονοκεφάλους μετά την εγκατάσταση. Η αγορά έχει πλημμυρίσει από αντίγραφα, ανακαινισμένες οθόνες, και το εργοστάσιο απορρίπτει. Γι' αυτό το γρήγορο, αξιόπιστος τρόπος για να ελέγξετε την ποιότητα της οθόνης επιτόπου είναι μια αλλαγή παιχνιδιών.
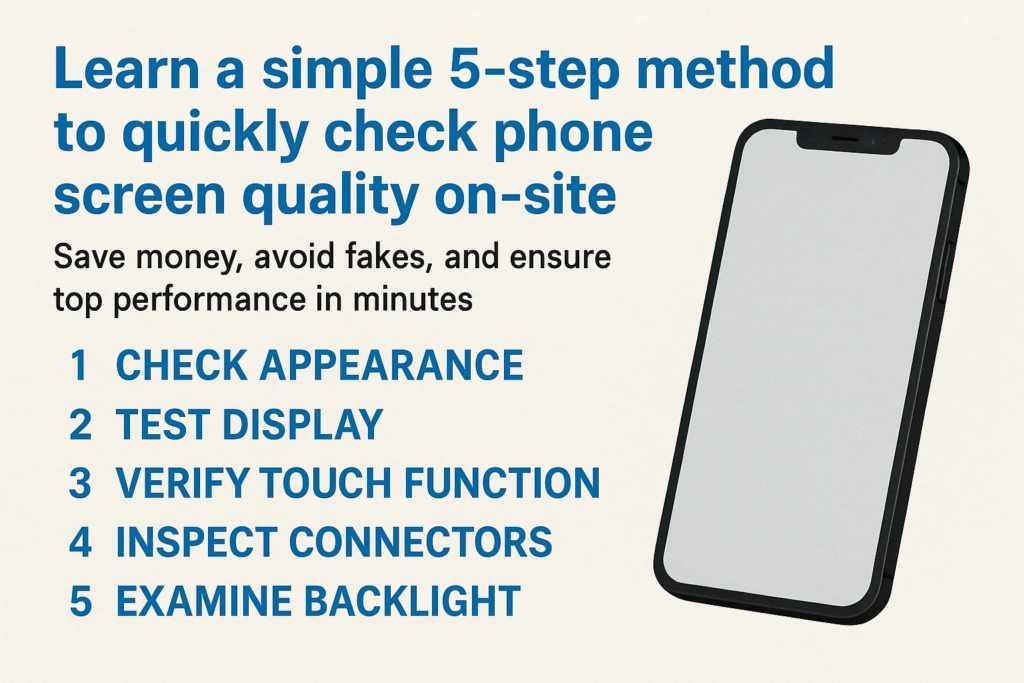
Αυτός ο οδηγός σας δίνει ένα 5-βήμα, εύκολη στην απομνημόνευση μέθοδο που λειτουργεί οπουδήποτε — είτε βρίσκεστε σε μια αγορά χονδρικής, σε συνεργείο επισκευής, ή αγορά από προμηθευτή. Ακολουθήστε αυτά τα βήματα, και θα καταλάβετε αμέσως αν αξίζει να κρατήσετε ή να απορρίψετε την οθόνη.
Βήμα 1 – Ελέγξτε την εμφάνιση
Πριν καν ενεργοποιήσετε την οθόνη, τα μάτια σου μπορούν να σου πουν πολλά.
- Γρατσουνιές ή ρωγμές: Ακόμη και μικροσκοπικές επιφανειακές γρατσουνιές μπορεί να σημαίνουν κακό χειρισμό ή μεταχειρισμένα εξαρτήματα.
- Υπολείμματα κόλλας: Κοιτάξτε γύρω από τις άκρες—αν δείτε υπολείμματα κόλλας, θα μπορούσε να είναι μια ανακυκλωμένη οθόνη.
- Επιθεώρηση πλαισίου: Ελέγξτε τις γωνίες και τα περιθώρια για βαθουλώματα, πατατάκια, ή σημάδια επανακόλλησης.
Σκεφτείτε αυτό το βήμα ως την πρώτη εντύπωση. Αν φαίνεται άσχημα έξω, οι πιθανότητες είναι ότι είναι χειρότερο μέσα.
Βήμα 2 – Δοκιμάστε τη λειτουργία αφής
Μια οθόνη μπορεί να φαίνεται ολοκαίνουργια, αλλά αν το άγγιγμα δεν είναι ομαλό, είναι άχρηστο.
- Εγκαταστήστε την οθόνη σε μια δοκιμαστική συσκευή.
- Ανοίξτε μια εφαρμογή σχεδίασης ή ζωγραφικής.
- Σύρετε το δάχτυλό σας σε ολόκληρη την οθόνη, άκρη σε άκρη.
Αυτό που ψάχνετε:
- Νεκρές ζώνες: Περιοχές όπου το άγγιγμα δεν ανταποκρίνεται.
- Οθόνη μετάβασης: Τυχαία παράκαμψη όταν σχεδιάζετε μια ευθεία γραμμή.
- Άγγιγμα φαντασμάτων: Η οθόνη «αγγίζει μόνη της» χωρίς είσοδο.
Μια οθόνη υψηλής ποιότητας πρέπει να παρακολουθεί τέλεια κάθε κίνηση των δακτύλων, ακόμα και με χειρονομίες πολλαπλής αφής.
Βήμα 3 – Επαληθεύστε την απόδοση της οθόνης
Τώρα ήρθε η ώρα να κρίνουμε την καρδιά της οθόνης - την οθόνη.
- Συμπαγής λευκή οθόνη: Αποκαλύπτει σημεία βρωμιάς, κιτρίνισμα, ή ανομοιόμορφη φωτεινότητα.
- Συμπαγής μαύρη οθόνη: Βοηθά στον εντοπισμό διαρροών φωτός ή νεκρών pixel.
- Κόκκινος, πράσινος, και μπλε οθόνες: Εκθέστε την παραμόρφωση χρώματος, αμυδρά περιοχές, ή παράξενα σημεία.
Αν δείτε παράξενα ελαφριά μπαλώματα (που ονομάζεται «σύννεφο») ή χρωματικές ασυνέπειες, η οθόνη είναι πιθανόν απόρριψη. Θυμάμαι, η οθόνη είναι αυτό που θα κοιτάζει ο πελάτης σας καθημερινά — μην κάνετε συμβιβασμούς εδώ.
Βήμα 4 – Επιθεωρήστε το καλώδιο Flex
Το ευέλικτο καλώδιο μοιάζει με το δακτυλικό αποτύπωμα της οθόνης—αποκαλύπτει αν το εξάρτημα είναι γνήσιο ή ψεύτικο.
- Συγκρίνετε με το πρωτότυπο: Σχήμα, μήκος, και η συγκόλληση πρέπει να ταιριάζει.
- Τα εξαρτήματα μετράνε: Τα γνήσια καλώδια έχουν συχνά περισσότερα τσιπ και αντιστάσεις.
- Σαφήνεια κωδικού QR και ετικέτας: Οι θολές ή οι ετικέτες που λείπουν είναι μια κόκκινη σημαία.
Εάν το ευέλικτο καλώδιο φαίνεται κακοφτιαγμένο, η οθόνη πιθανότατα θα αποτύχει νωρίτερα παρά αργότερα.
Βήμα 5 – Ελέγξτε τα υποστηρικτικά στοιχεία
Μια καλή συναρμολόγηση οθόνης δεν σταματά στο γυαλί και την οθόνη.
- Διχτυωτό ακουστικό: Θα πρέπει να είναι καθαρό, ευθυγραμμισμένος, και σωστά συνδεδεμένο.
- Κουμπί αρχικής οθόνης ή αισθητήρας δακτυλικών αποτυπωμάτων (εάν υπάρχει): Δοκιμή λειτουργικότητας και ομαλή πίεση.
- Στοιχεία μπροστινού πλαισίου: Οι υποδοχές του αισθητήρα εγγύτητας και της κάμερας πρέπει να είναι προσεγμένες, όχι στραβά ή μπλοκαρισμένα.
Αυτά τα μικρά εξαρτήματα κάνουν μεγάλη διαφορά στην καθημερινή χρήση του τηλεφώνου. Μην τα παραλείπετε.
Συνήθη λάθη κατά την επιτόπια δοκιμή
- Επίσπευση της διαδικασίας: Η παράλειψη βημάτων οδηγεί συχνά σε κακές αγορές.
- Δεν αποθηκεύονται οι δοκιμαστικές εικόνες: Διατηρήστε πάντα λευκό, μαύρος, και εικόνες RGB στη δοκιμαστική συσκευή σας.
- Αγνοώντας τις λεπτομέρειες του εύκαμπτου καλωδίου: Πολλές ψεύτικες οθόνες αποτυγχάνουν μόνο σε αυτό το βήμα - μην το αγνοήσετε.
Γιατί αυτή η μέθοδος 5 βημάτων λειτουργεί
Αυτή η λίστα ελέγχου έχει σχεδιαστεί για πρακτικότητα. Καλύπτει και τα δύο οπτική εμφάνιση και λειτουργική απόδοση, ενώ παράλληλα γίνεται έλεγχος για ενδείξεις αυθεντικότητας όπως το ευέλικτο καλώδιο.
Το καλύτερο μέρος? Χρειάζεται μόνο 2– 3 λεπτά ανά οθόνη μόλις το καταφέρεις.
Πρακτικές συμβουλές για αγοραστές και συνεργεία επισκευής
- Έχετε μαζί σας ένα δοκιμαστικό τηλέφωνο με προεγκατεστημένες βασικές εφαρμογές.
- Αποθηκεύστε τις δοκιμαστικές εικόνες στη συλλογή σας ή στη μονάδα cloud.
- Διατηρήστε μια έντυπη λίστα ελέγχου στην εργαλειοθήκη σας—επιταχύνει τις επιθεωρήσεις.
Κάνοντας αυτή τη ρουτίνα συνήθεια, θα αποφύγετε δαπανηρά λάθη και θα δημιουργήσετε μια φήμη ότι πουλάτε μόνο ανταλλακτικά υψηλής ποιότητας.
Σύναψη
Ο εντοπισμός μιας κακής οθόνης τηλεφώνου δεν χρειάζεται να είναι ένα παιχνίδι εικασιών. Με αυτό 5-μέθοδος βήματος-εμφάνιση, επαφή, επίδειξη, εύκαμπτο καλώδιο, και εξαρτήματα στήριξης—θα έχετε μια αλάνθαστη διαδικασία για να αναγνωρίζετε την ποιότητα της οθόνης γρήγορα και με σιγουριά.
Είτε είστε τεχνικός, χονδρέμπορος, ή αγοραστής, Η εκμάθηση αυτής της απλής ροής εργασίας θα σας εξοικονομήσει χρήματα, φορά, και απογοήτευση.
Συχνές ερωτήσεις
1. Πόσος χρόνος διαρκεί το τεστ 5 βημάτων?
Συνήθως περίπου 2-5 λεπτά ανά οθόνη, ανάλογα με την εμπειρία σας.
2. Μπορώ να χρησιμοποιήσω αυτή τη μέθοδο χωρίς ειδικά εργαλεία?
Ναί, το μόνο που χρειάζεστε είναι μια συσκευή δοκιμής και βασικές εικόνες δοκιμής.
3. Τι γίνεται αν μια οθόνη περάσει μερικά βήματα αλλά αποτύχει σε άλλα?
Είναι καλύτερο να το απορρίψετε - κάθε βήμα έχει σημασία για τη μακροπρόθεσμη αξιοπιστία.
4. Είναι αυτή η μέθοδος κατάλληλη για οθόνες LCD και OLED?
Απολύτως, τα βήματα ισχύουν και για τους δύο τύπους.
5. Πώς μπορώ να επιβεβαιώσω εάν η οθόνη είναι πρωτότυπη ή αντιγραφή?
Οι λεπτομέρειες του εύκαμπτου καλωδίου και η συνολική ποιότητα κατασκευής είναι τα μεγαλύτερα δώρα.


